GETTING STARTED WITH THE WORLD’S BEST PFP NFT BUILDER!
In our Getting Started guide you’ll find all the information you’ll need to create your very own Flovatar masterpiece, but first up here’s some background info on Flovatar and what makes us different from every other NFT project.

WHAT IS A PFP NFT?
Personal Profile Picture (PFP) is the thing someone uploads when using something like TikTok, Facebook, Twitter, etc. Profile Pictures are a representation of ourselves on the internet, our avatar. A Flo-avatar if you will.
An NFT is a “non-fungible token” – which in simple terms means a unique asset that has a verifiable owner.
So a PFP NFT is a unique profile picture that can only ever be owned by one person at any one time.

WHAT MAKES FLOVATAR NFTs SO SPECIAL?
Most NFTs are just pre-made static images that you buy, keep and admire and then maybe sell one day – hopefully for a profit.
However, Flovatars are sooooooo much more than that!
BE THE CREATOR
Our unique NFT Builder lets you choose each body part so that you get total creative control in what your Flovatar looks like.
EARN ROYALTIES
Because you’re the creator you will earn 1% lifetime royalties on all future sales of your Flovatar - forever!
CONTINUALLY CUSTOMIZE
You can add accessories and backgrounds to your Flovatar at any time, even after minting.
ANIMATED
Flovatars are animated and you can unlock hidden animations by combining certain accessories and backgrounds.
INTERACTIVE
Find the right combinations of character traits, accessories and backgrounds to unlock hidden easter eggs!
EARN TOKENS
All Series 1 Flovatars will exclusively earn our utility token ÐUST for a period of 10 years!
Learn more about ÐUST on our blog.
Flovatar is built on the Flow blockchain
There are many different blockchains out there in the crypto world. The most well known one in the NFT space is Ethereum, however, Flovatar uses a different blockchain called Flow - we do this for a number of reasons:
- Flow is super easy to use
- Gas fees are extremely low on Flow (Gas fees on Ethereum are similar to transaction charges and they can be quite expensive)
- Flow is eco-friendly as it’s built on the “proof-of-stake” model rather than “proof-of-work”.
Next, let's see how to use the Builder to mint your first Flovatar
GETTING STARTED WITH THE BLOCTO WALLET
If you’re new to trading on the Flow blockchain then here's your step-by-step guide to setting up a Blocto Wallet and adding Flow currency to it.
Connect a Blocto
Wallet to flovatar
The Blocto wallet is the wallet of choice in the Flow blockchain ecosystem – it’s easy to set up and create an account - all you need is an email address to get started.
Start connecting a wallet
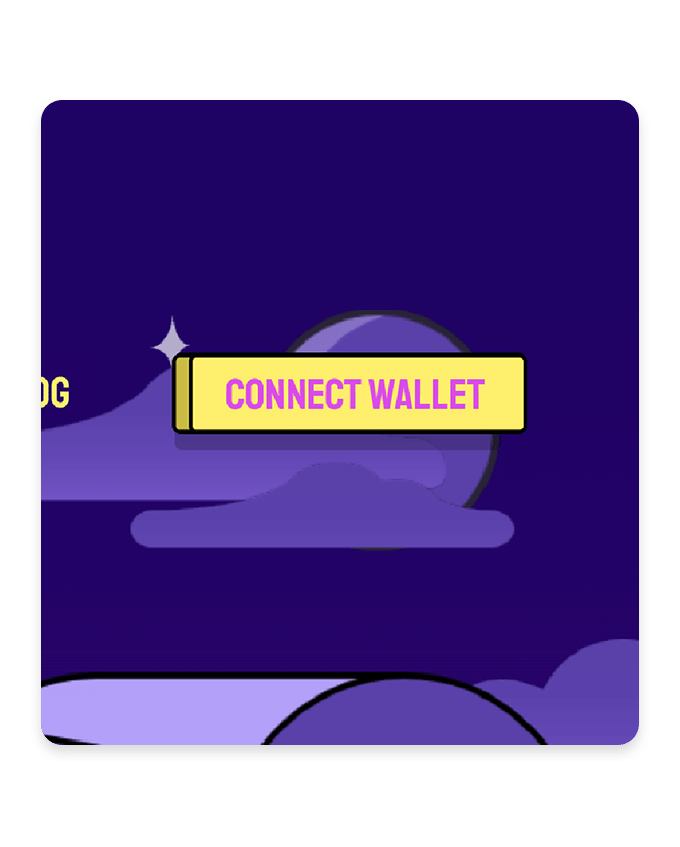
Click the Connect Wallet button to open the Blocto sign in popup.
Enter your email address
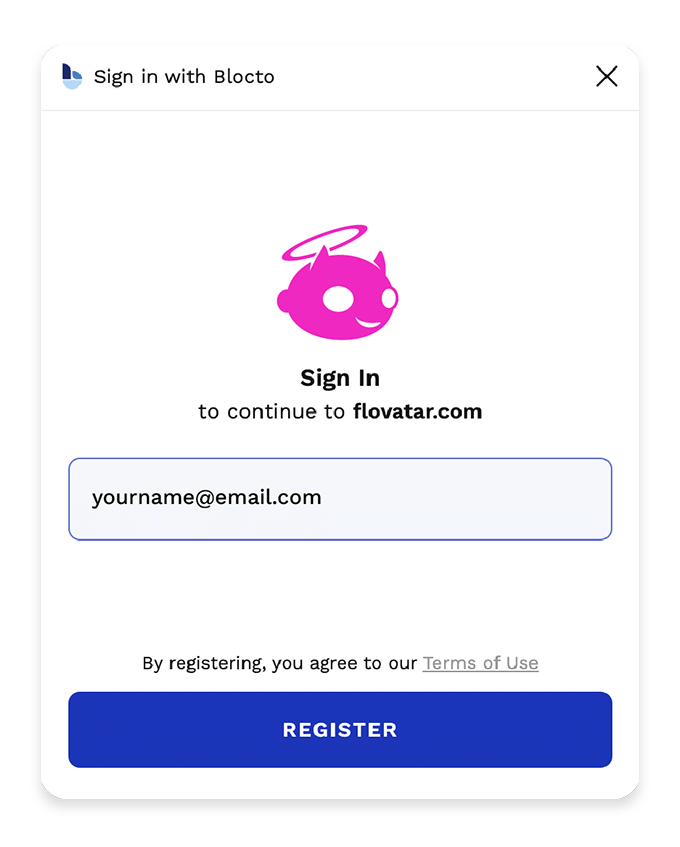
When prompted enter your email address and click the Sign in / Register button.
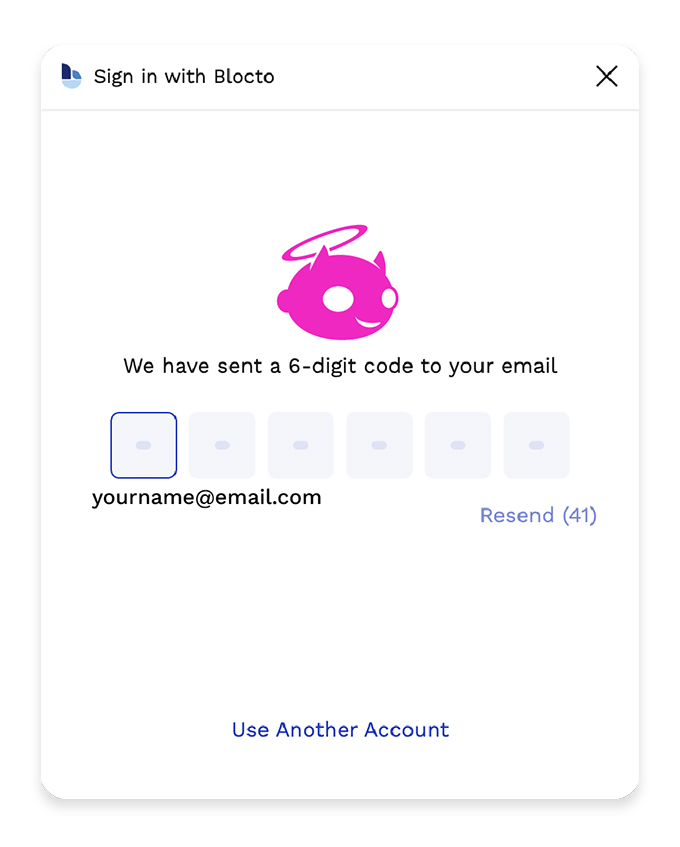
Enter verification code
Check your inbox for an email from Blocto then enter the six digit number from the email into the confirmation boxes.
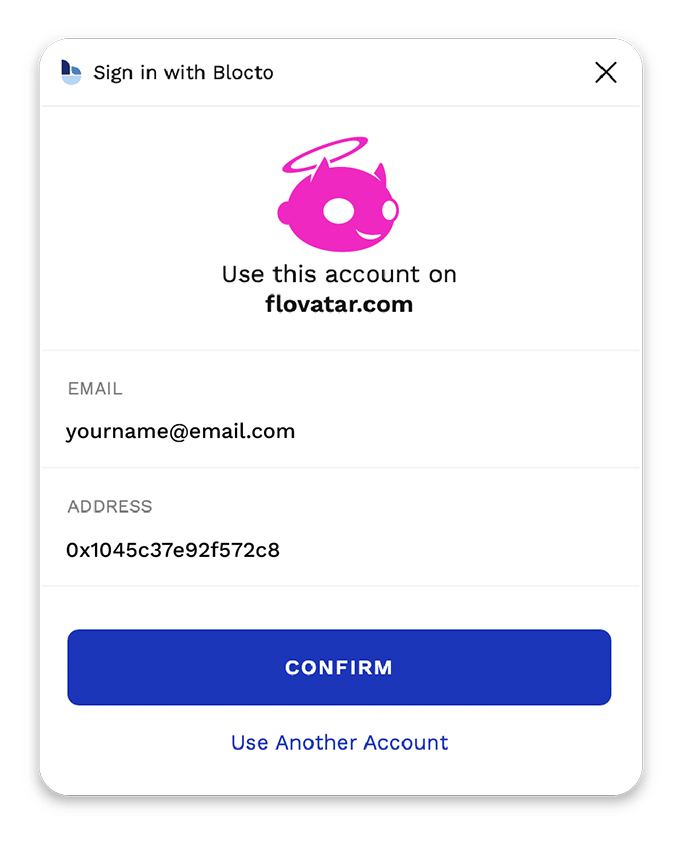
Confirm your account
You will then need to login and confirm your account - just click the Confirm button when prompted.
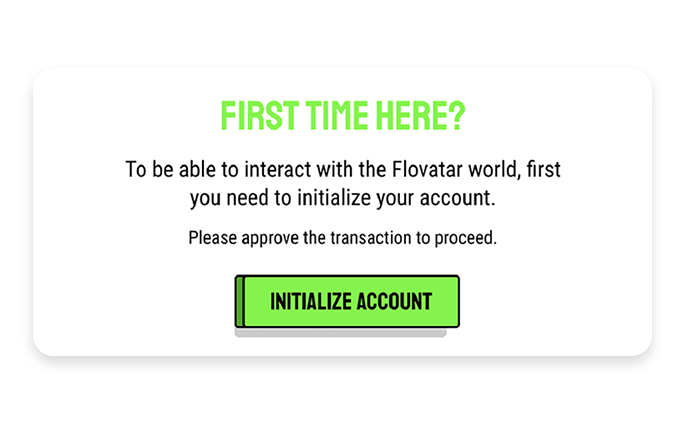
Initialize your account
If this is your first time connecting your wallet to Flovatar you’ll be asked to initialize your account - just click the Initialize Account button when prompted.
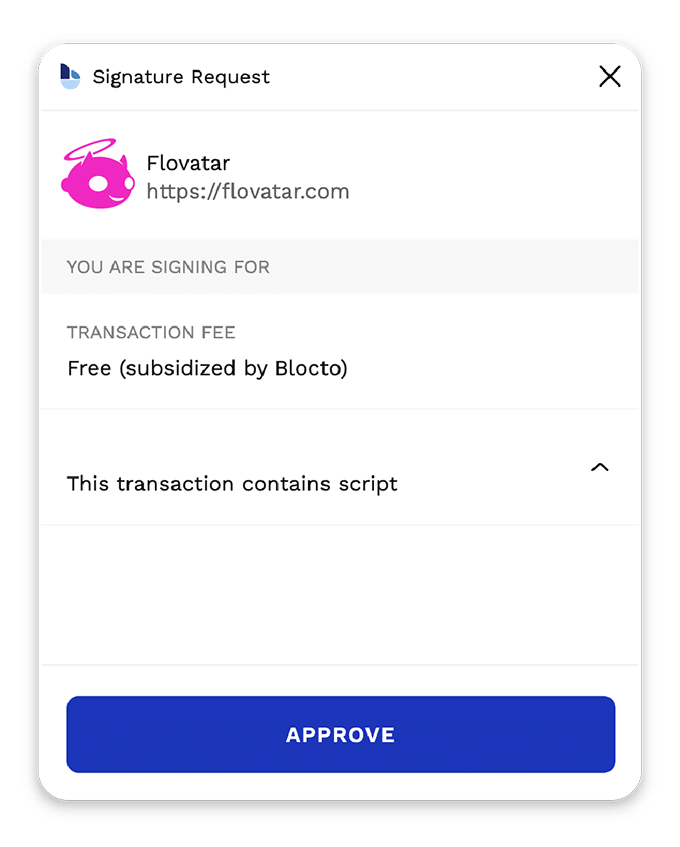
Approve transaction
Blocto will then need you to confirm the transaction to execute the Flovatar initialization.
Just click the Approve button and wait a few seconds for the loader to disappear and then you’re good to go!
You’re now ready to buy and deposit some FLOW token to your Blocto Wallet
First let's find out what your level of experience is with using crypto
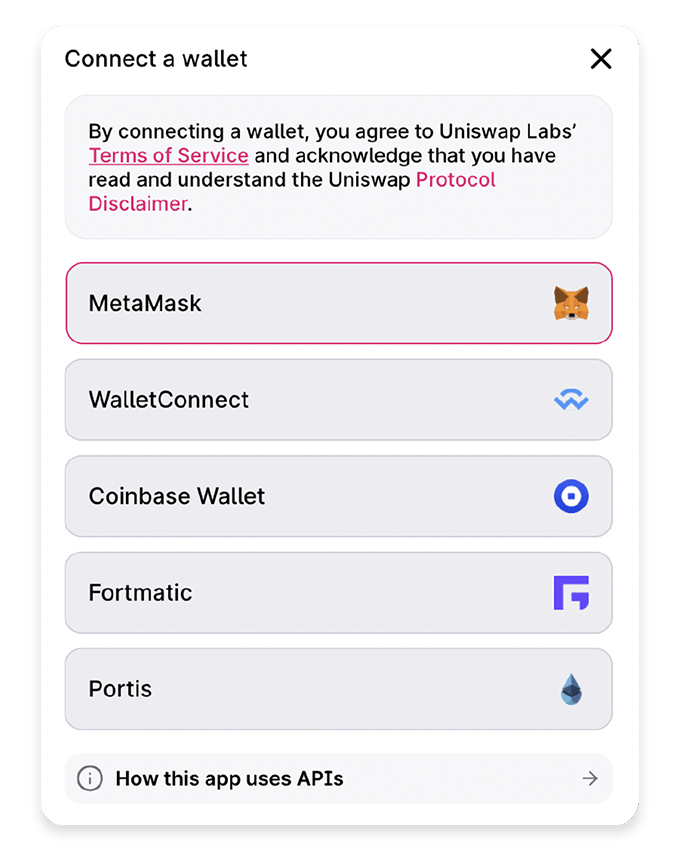
Connect your MetaMask wallet to Uniswap
Once you have opened the Uniswap app click Connect Wallet and choose MetaMask.
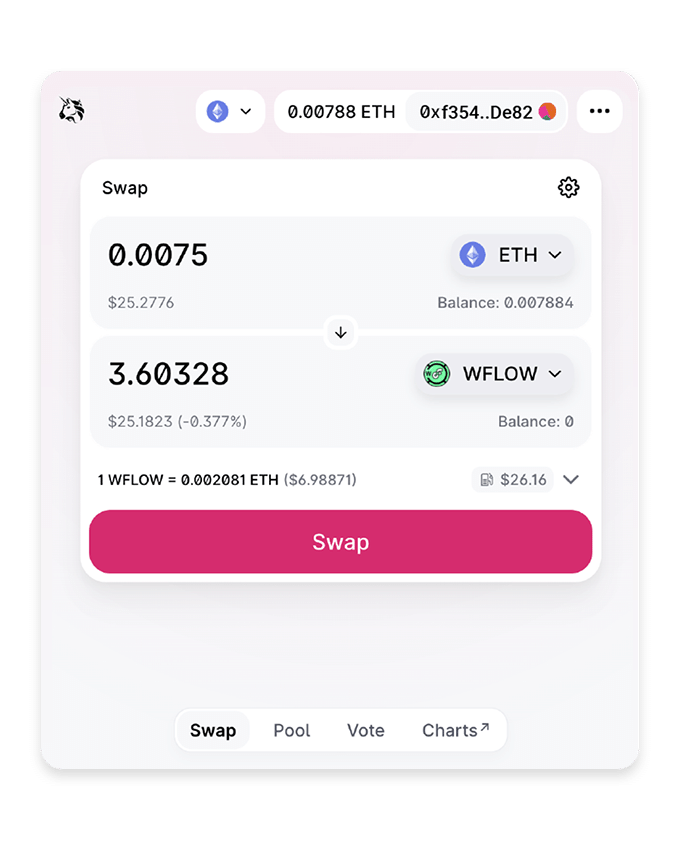
Convert ETH to WFLOW
Enter the amount of ETH in the top input field that you’d like to convert to WFLOW (Wrapped Flow).
Then click the Swap button.
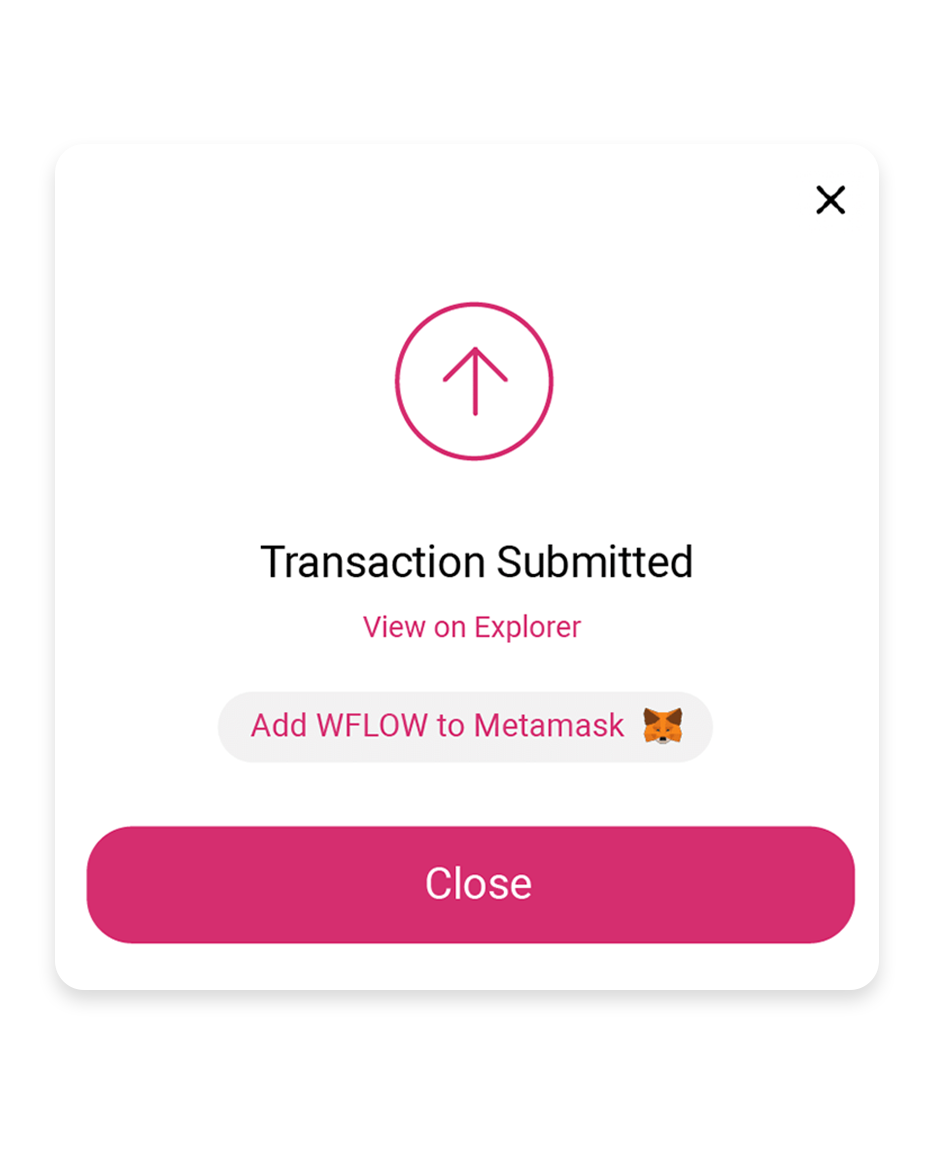
Approve the transaction
Approve the transaction and wait for it to be sealed. Once complete the WFLOW will appear in your MetaMask wallet.
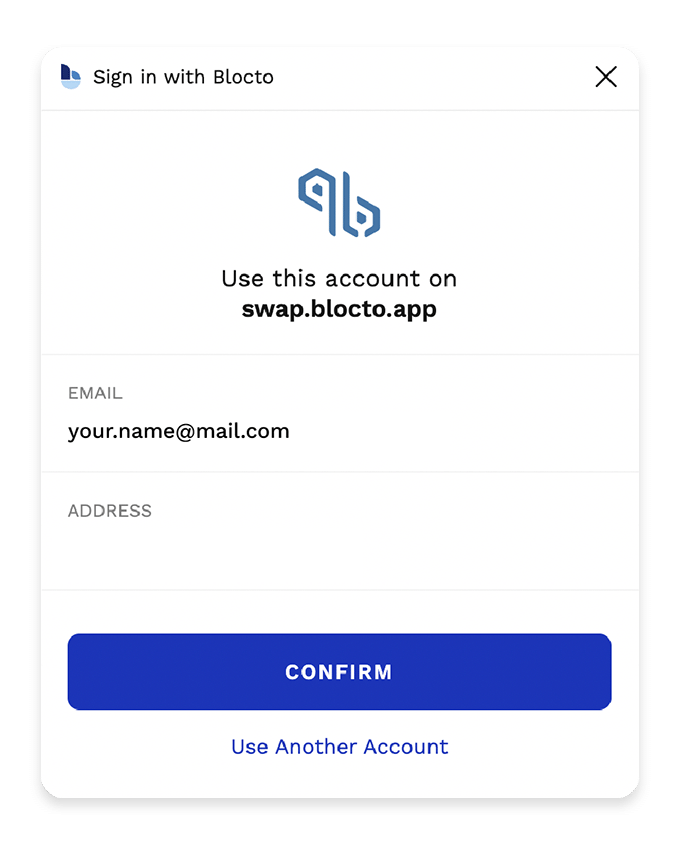
Connect your FLOW wallet to BloctoSwap
This will link your Blocto Wallet with Blocto Swap to enable you to Teleport currency.
Just click the Confirm button to complete the Flow sign in.
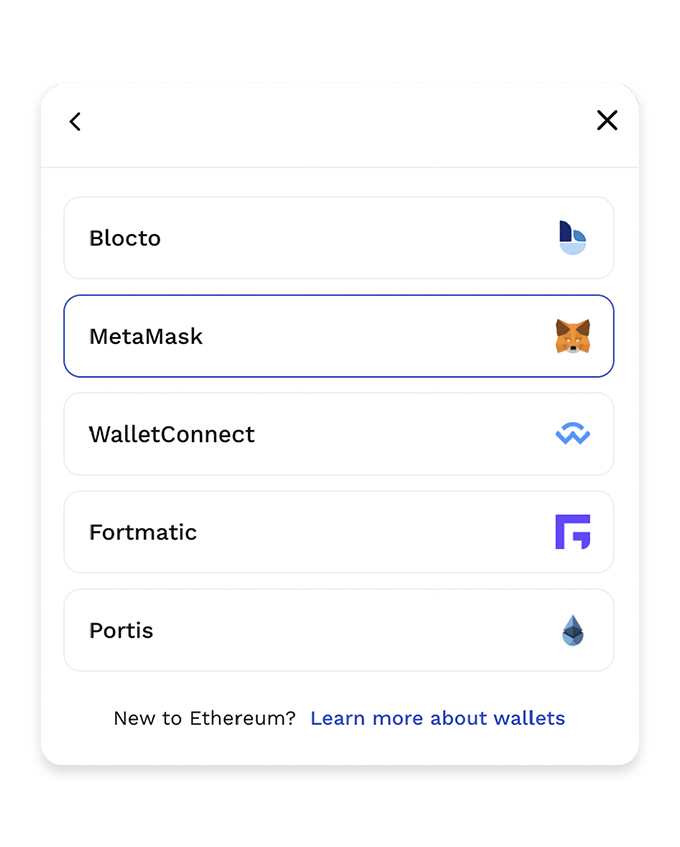
Connect your MetaMask to BloctoSwap
Click Connect Wallets and then select Connect to Ethereum account and choose MetaMask.
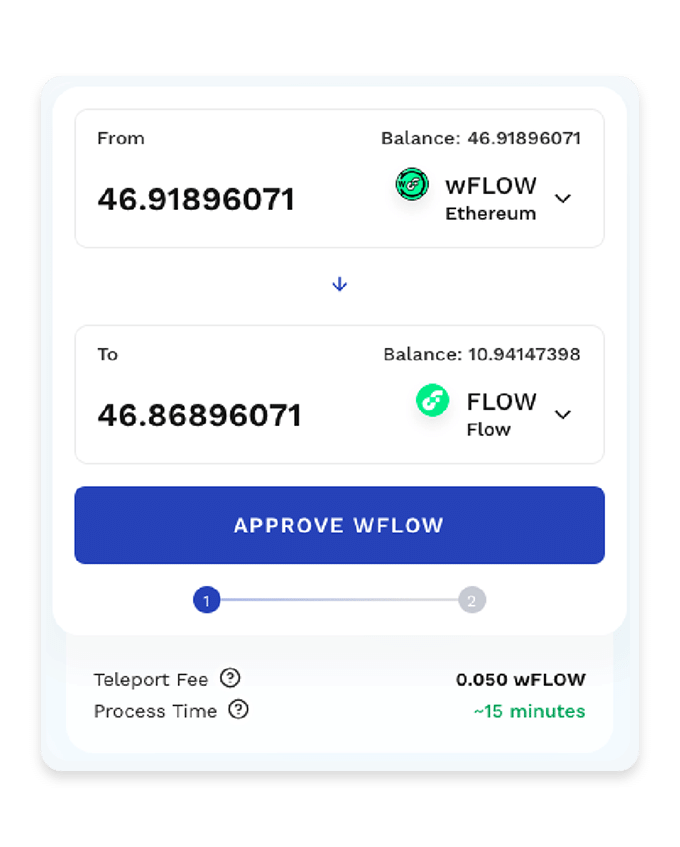
Teleport your WFLOW to FLOW
Enter the amount of WFLOW you’d like to transfer from Metamask to your Blocto wallet and then then click the Approve WFLOW button
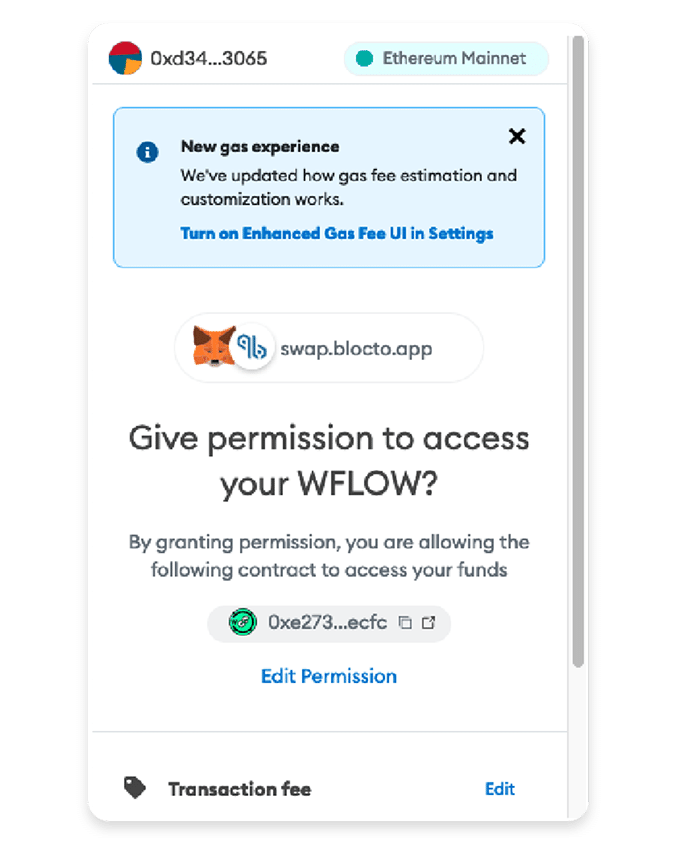
Approve the transaction in MetaMask
Give BloctoSwap permission to access the WFLOW in your MetaMask wallet.
Now wait just a few minutes and you will then see your FLOW in your Blocto Wallet.
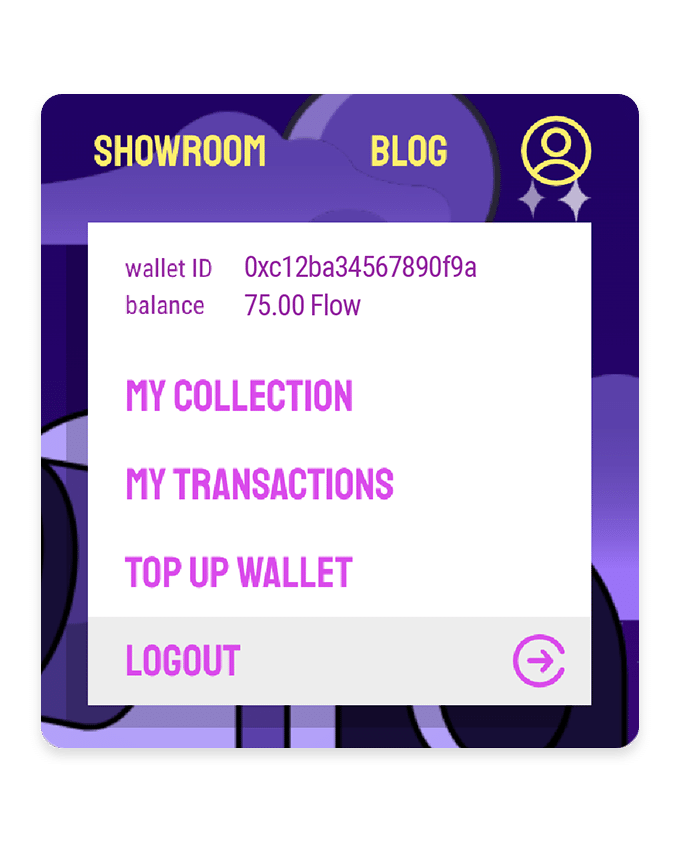
View your FLOW balance
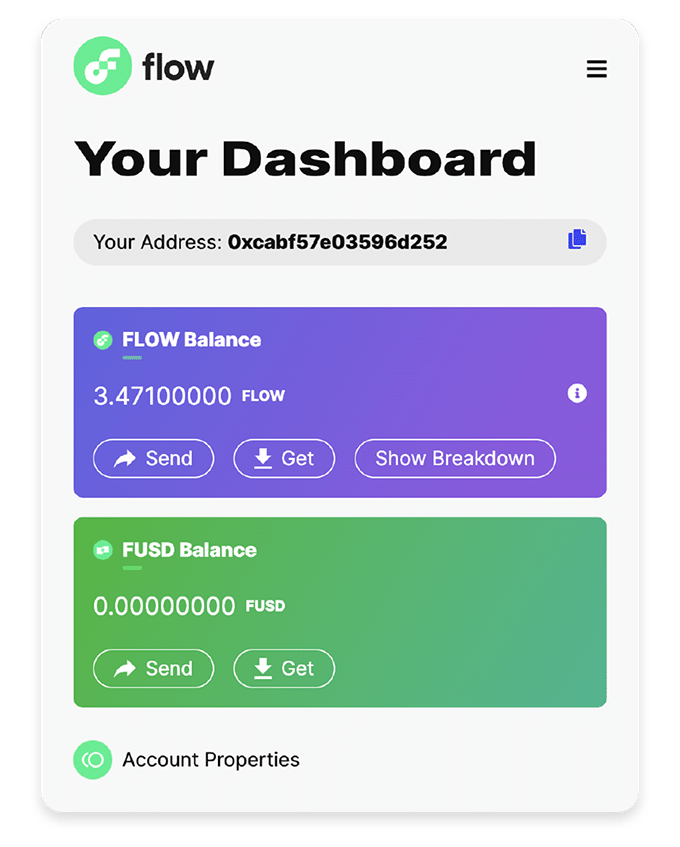
After a few minutes you can check your FLOW balance in your Blocto Wallet just by opening the user dropdown menu on the Flovatar website and you will see it underneath the wallet ID.
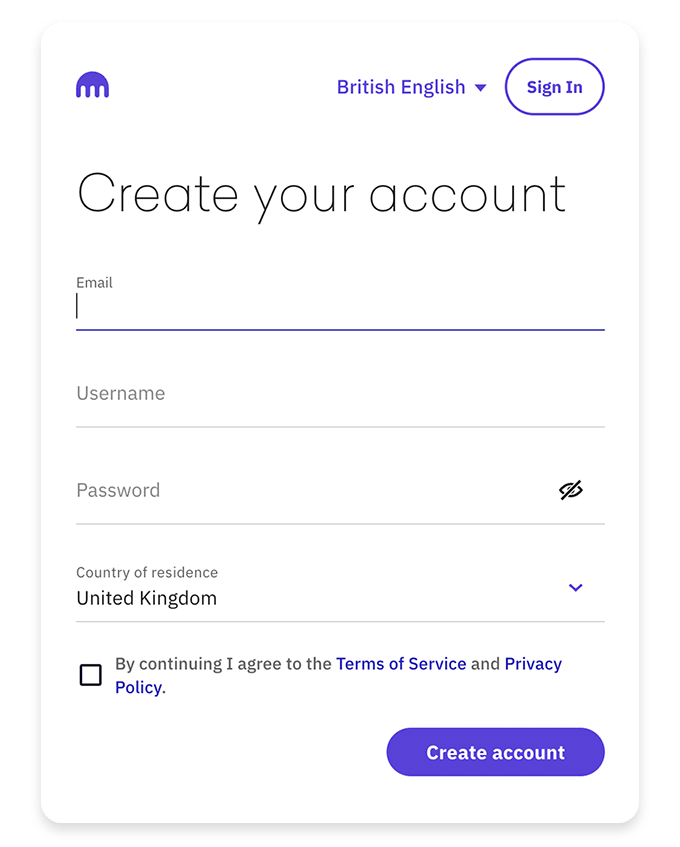
Login or Register with Kraken
First step is to login or register to be able to use their exchange platform.
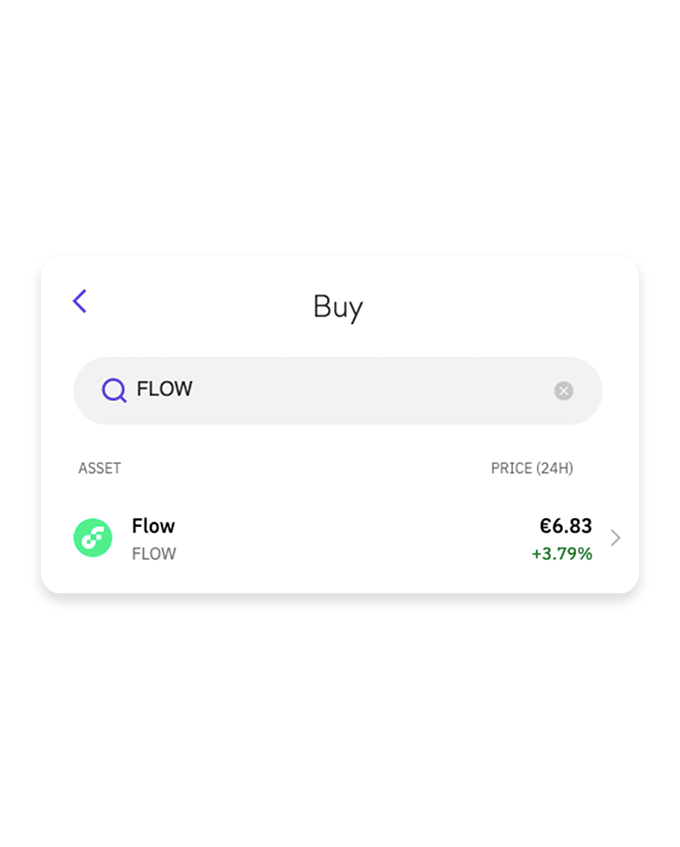
Buy FLOW token
From the main navigation bar click Buy Crypto
Then filter and select the FLOW token from the list.
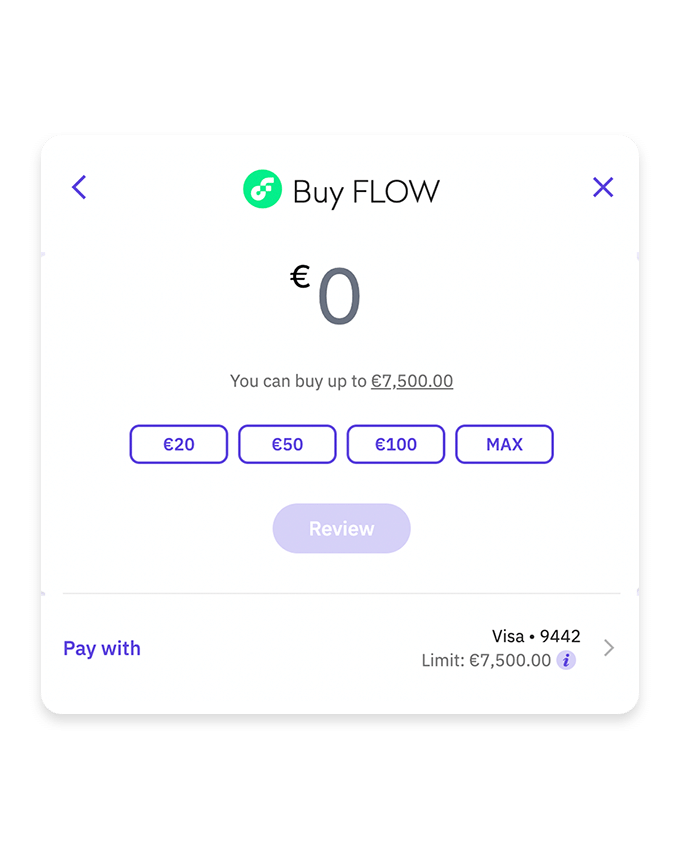
Enter amount and approve
Select the amount you would like to buy and the payment method to complete the purchase.

Copy your Blocto address
To view your Blocto wallet address just open the user dropdown menu on the Flovatar website and you will see it on the first line.
Copy that address (e.g. 0xc12ba34567890f9a) and use it for the next step.
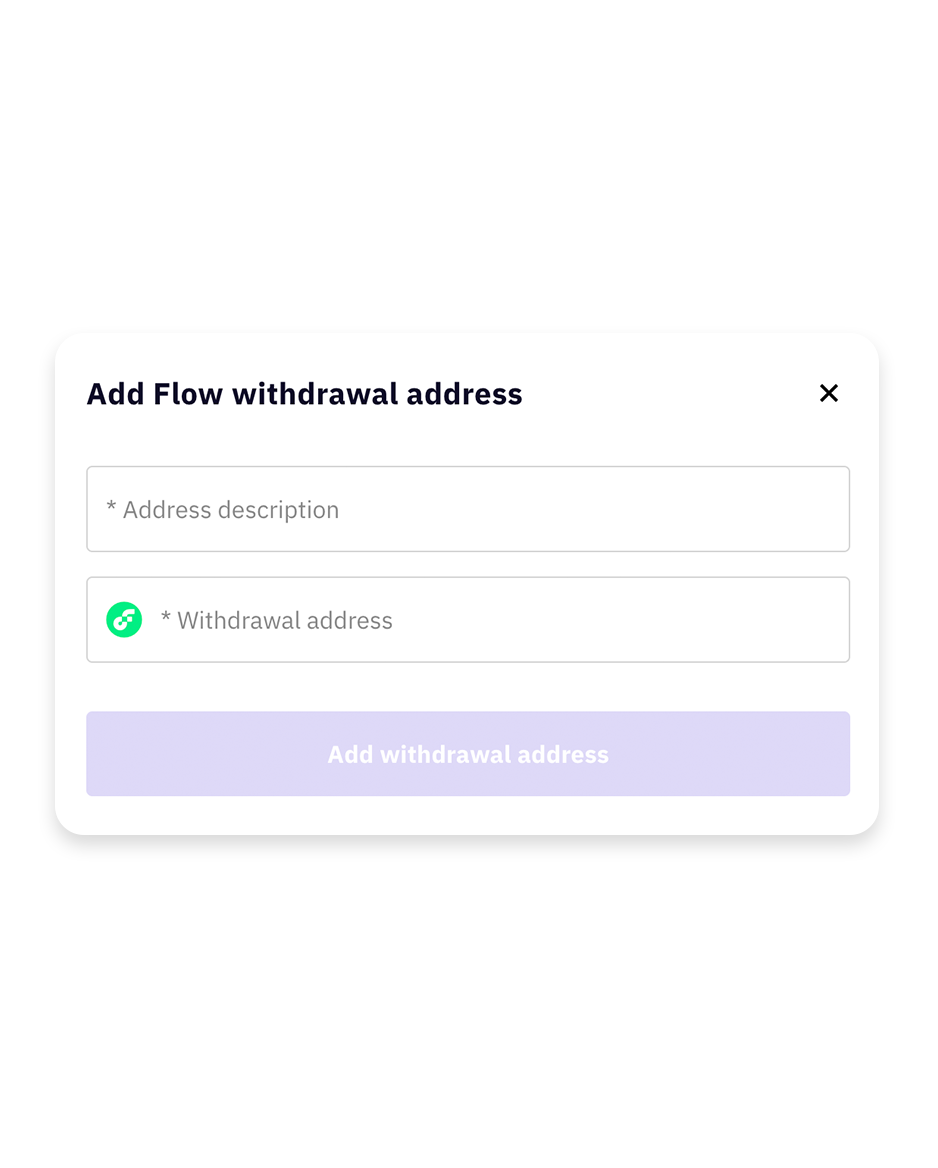
Add Blocto address to the withdrawl list
Click Add new withdrawl address and then copy the address from the previous step along with a name and save it.
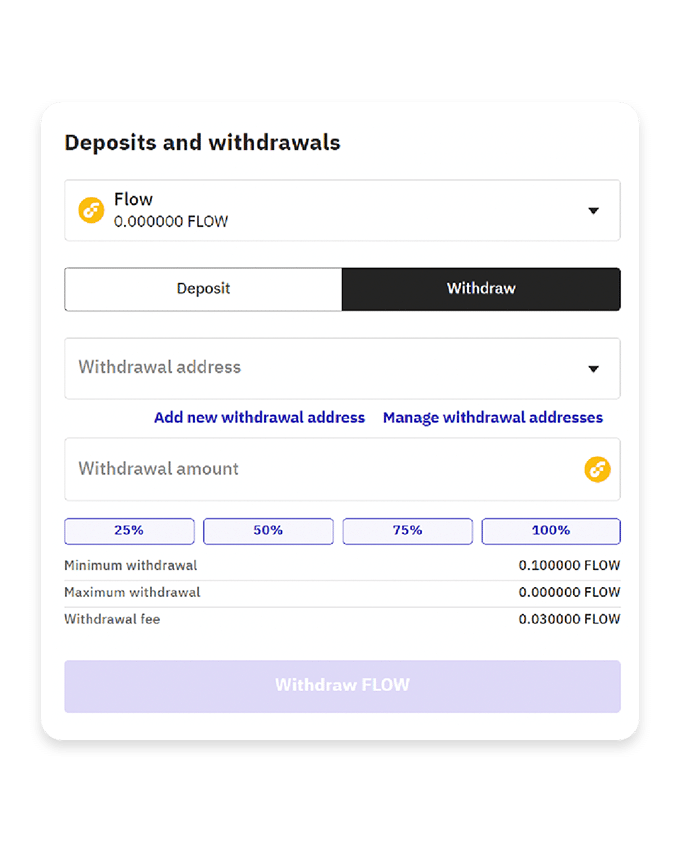
Choose amount to withdraw
Enter the amount of FLOW that you would like to withdraw from Kraken to Blocto and click the Withdraw FLOW button.
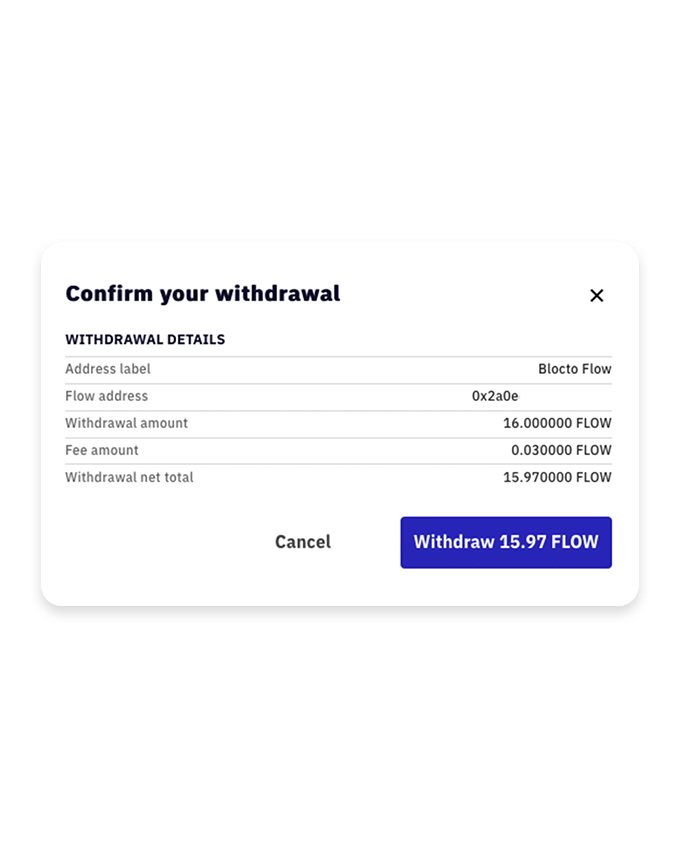
Approve transaction
Check that the values are correct and click the Withdraw FLOW button

View your FLOW balance
After a few minutes (unless extra verification is needed) you can check your FLOW balance in your Blocto Wallet just by opening the user dropdown menu on the Flovatar website and you will see it underneath the wallet ID.
USE CRYPTO.COM MOBILE APP TO BUY FLOW
Please note:
In some cases (especially if paying with bank transfer) you will need to wait up to 7 days to withdraw your FLOW tokens.
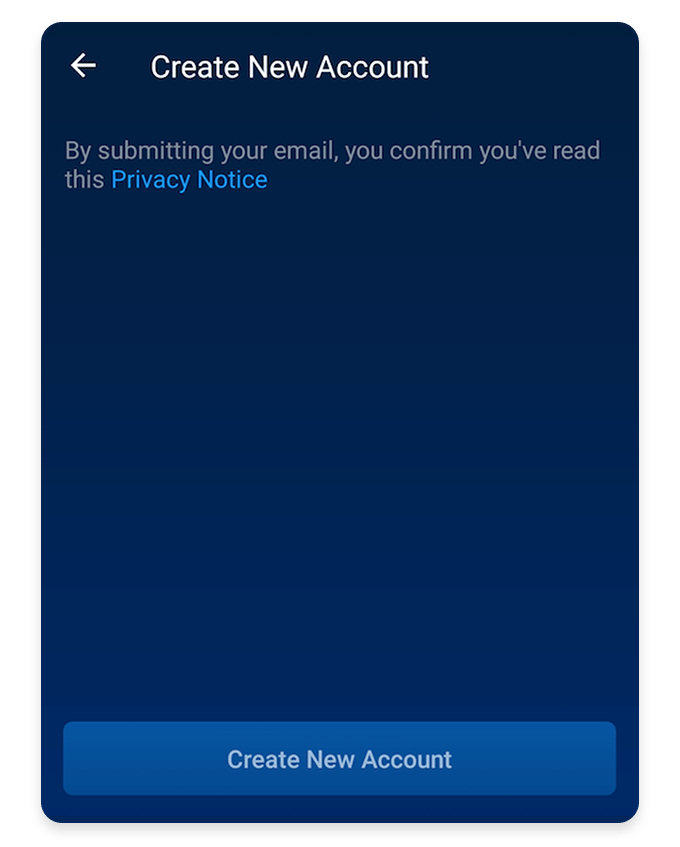
Open or Install the mobile app
First step is to open the mobile app and login or register to be able to use their exchange platform.
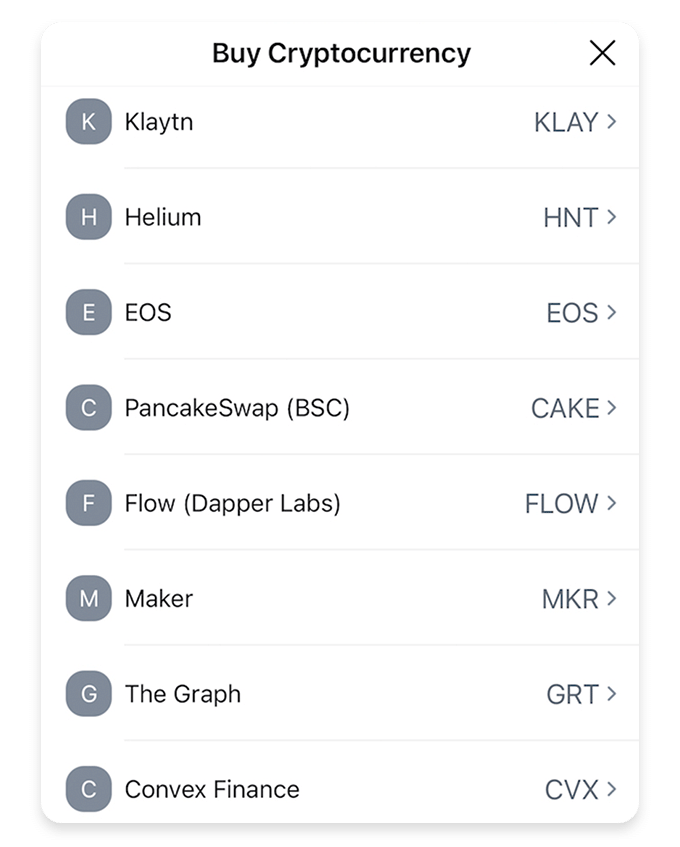
Buy FLOW token
From the main navigation bar at the bottom click the Crypto.com logo icon and then + Buy
Then filter and select the FLOW token from the list.
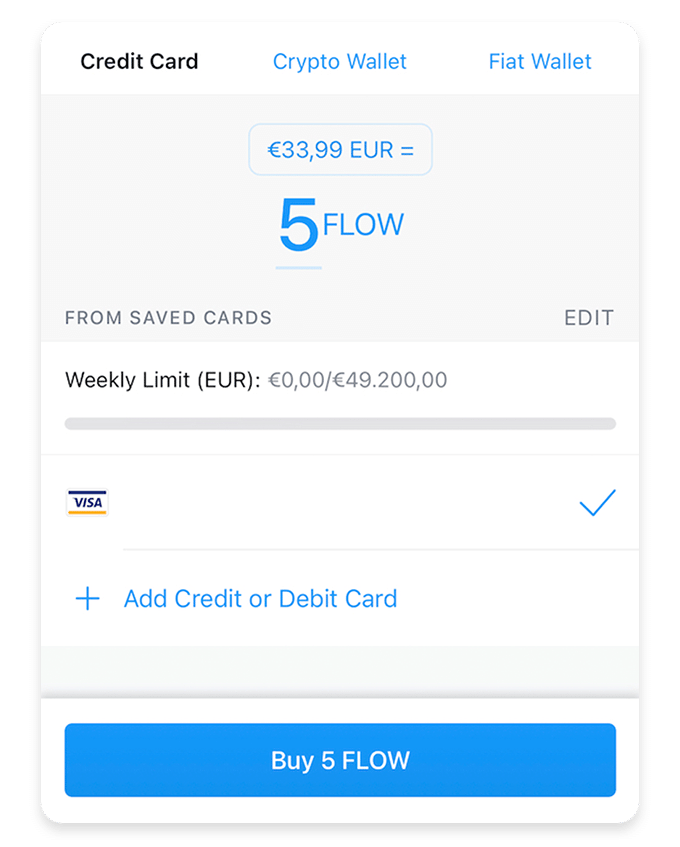
Enter amount and approve
Select the amount you would like to buy and the payment method to complete the purchase.
Withdraw FLOW to the Blocto wallet

Copy your Blocto address
To view your Blocto wallet address just open the user dropdown menu on the Flovatar website and you will see it on the first line.
Copy that address (e.g. 0xc12ba34567890f9a) and use it for the next step.
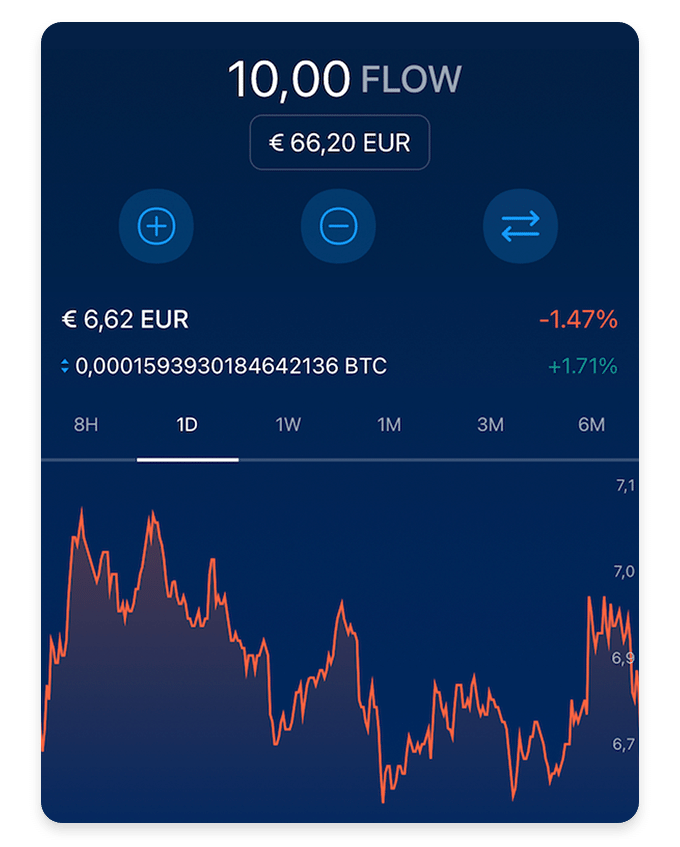
Open your Crypto wallet for FLOW
Click Accounts in the main navigation and then Crypto Wallet to open your FLOW wallet.
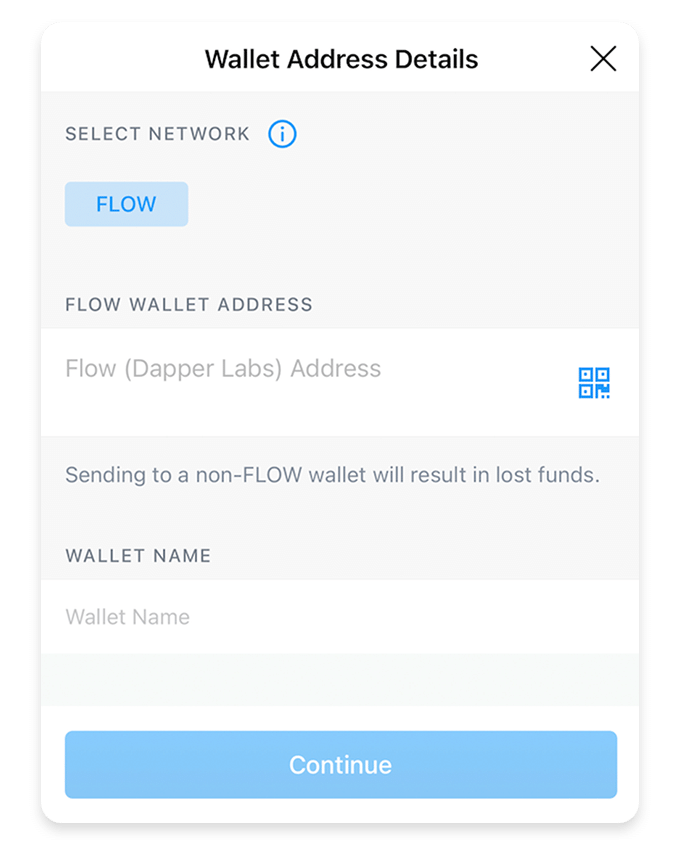
Open the Withdraw section
Click Transfer, then Withdraw and finally External wallet in the main navigation.
At this point click the + on the top right and choose Wallet address to enter the Blocto address from the previous step and click Continue.
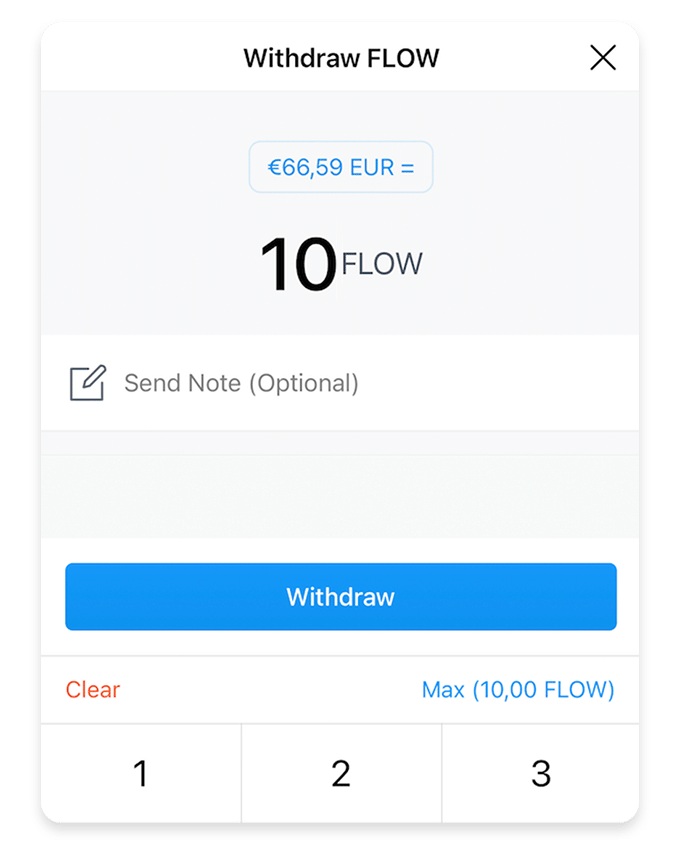
Enter amount and approve transaction
Enter the amount of FLOW you would like to transfer, click the Withdraw button and finally Continue to complete the process.

View your FLOW balance
After a few minutes (unless extra verification is needed) you can check your FLOW balance in your Blocto Wallet just by opening the user dropdown menu on the Flovatar website and you will see it underneath the wallet ID.
SIGN IN TO BINANCE TO BUY FLOW
Please note:
In some cases (especially if paying with bank transfer) you will need to wait up to 7 days to withdraw your FLOW tokens.
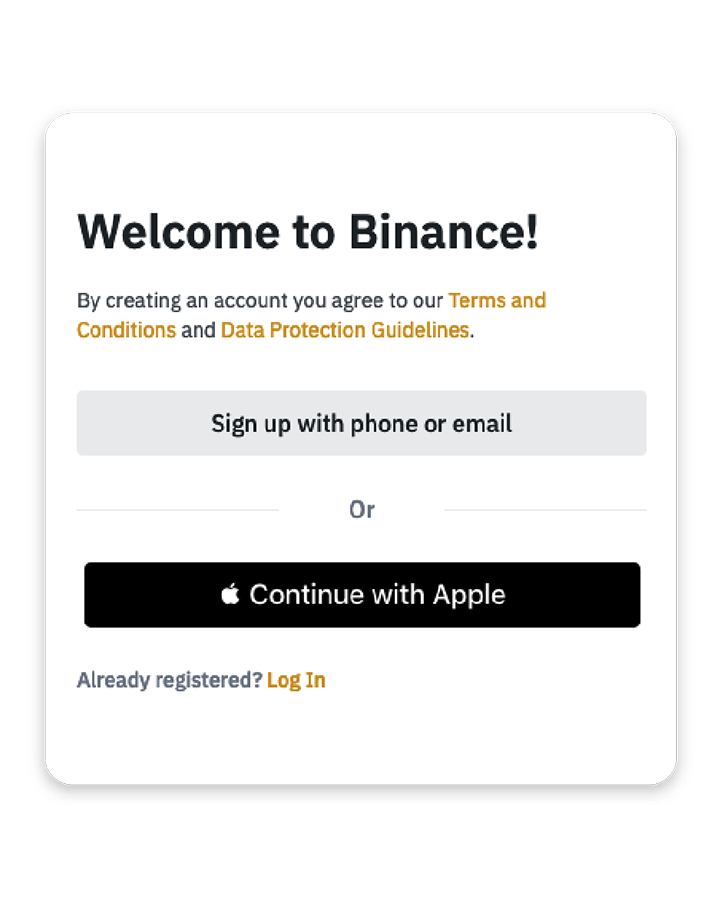
Login or Register with Binance
First step is to login or register to be able to use their exchange platform.
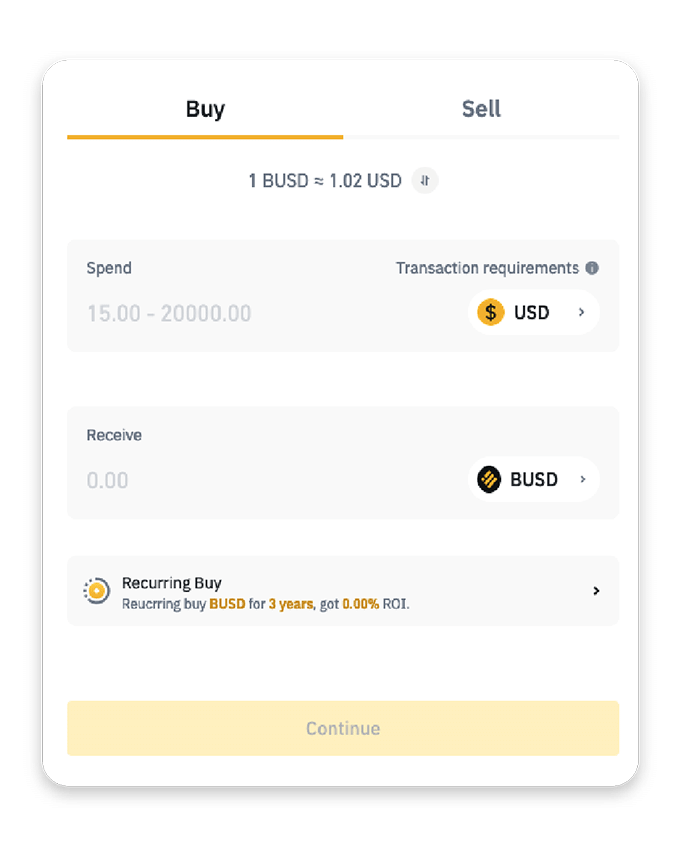
Buy BUSD token
From the main navigation bar click Buy Crypto and select your preferred payment method.
Then choose the BUSD token, enter the amount and complete the purchase.
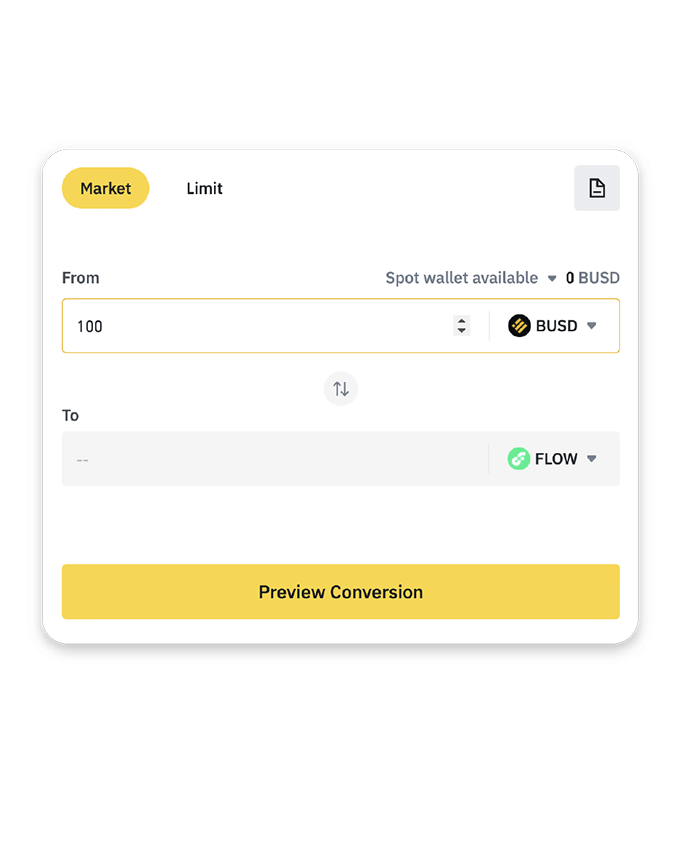
Convert BUSD to FLOW
From the main navigation bar click Trade and then Convert .
Select BUSD in the first line and FLOW in the second line. Enter the amount you would like to convert and complete the exchange.

Copy your Blocto address
To view your Blocto wallet address just open the user dropdown menu on the Flovatar website and you will see it on the first line.
Copy that address (e.g. 0xc12ba34567890f9a) and use it for the next step.
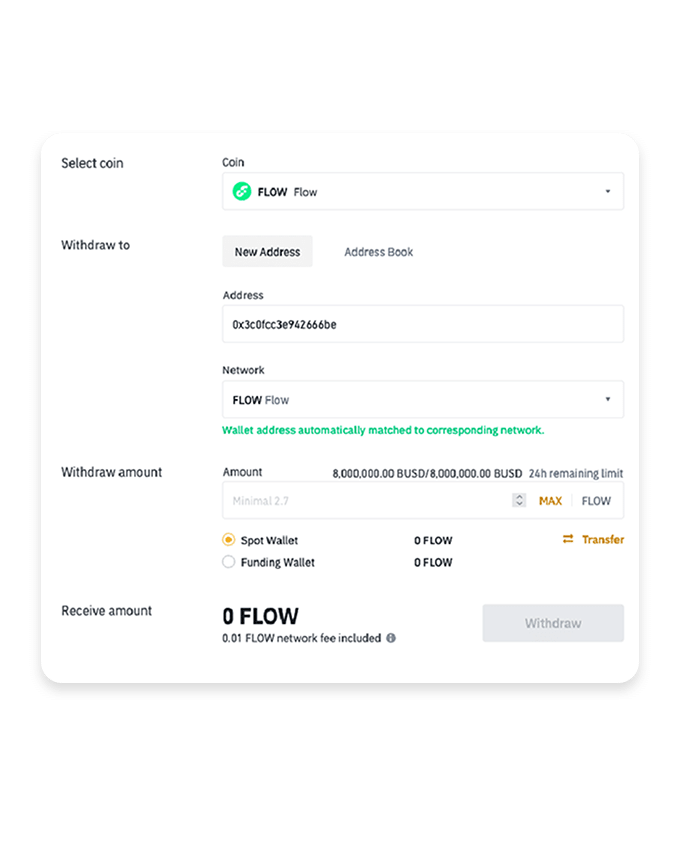
Enter details to withdraw
Paste the Blocto address from the previous step, select the FLOW network, and enter the amount to complete the withdraw process.

View your FLOW balance
After a few minutes (unless extra verification is needed) you can check your FLOW balance in your Blocto Wallet just by opening the user dropdown menu on the Flovatar website and you will see it underneath the wallet ID.
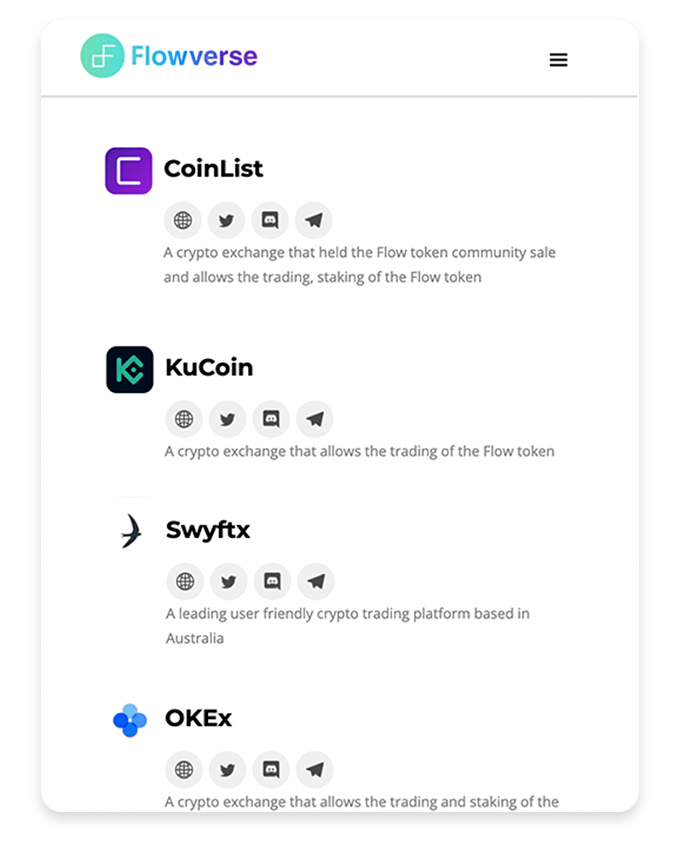
Login or Register with any exchange
First step is to login or register with any of the other exchanges listed in the Flowverse page.

Buy FLOW token
Then proceed to buy the FLOW token from the exchange.
This process can vary depending on your selection, but should be intuitive enough.
Withdraw FLOW to the Blocto wallet

Copy your Blocto address
To view your Blocto wallet address just open the user dropdown menu on the Flovatar website and you will see it on the first line.
Copy that address (e.g. 0xc12ba34567890f9a) and use it for the next step.

Enter details to withdraw
Paste the Blocto address from the previous step and enter the amount to complete the withdraw process.

View your FLOW balance
After a few minutes (unless extra verification is needed) you can check your FLOW balance in your Blocto Wallet just by opening the user dropdown menu on the Flovatar website and you will see it underneath the wallet ID.
TRY MOONPAY
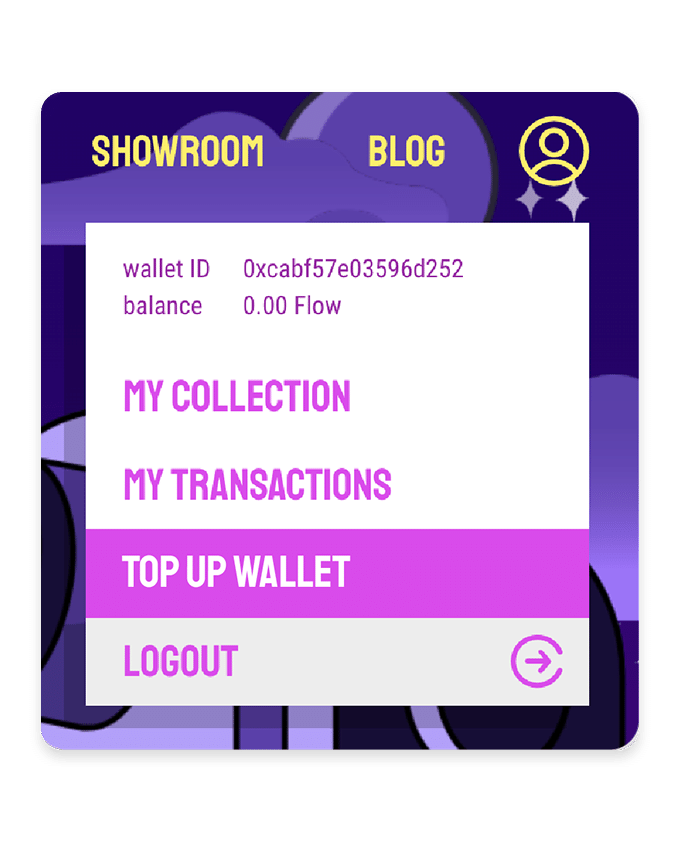
By far the simplest way is with MoonPay but it’s not available to everyone
MoonPay only works in the EU, UK and USA (except New York, Louisiana, and Texas). Also, not all banks allow purchase of crypto currencies.
If you're in a country that isn't on that list then we recommend using either:
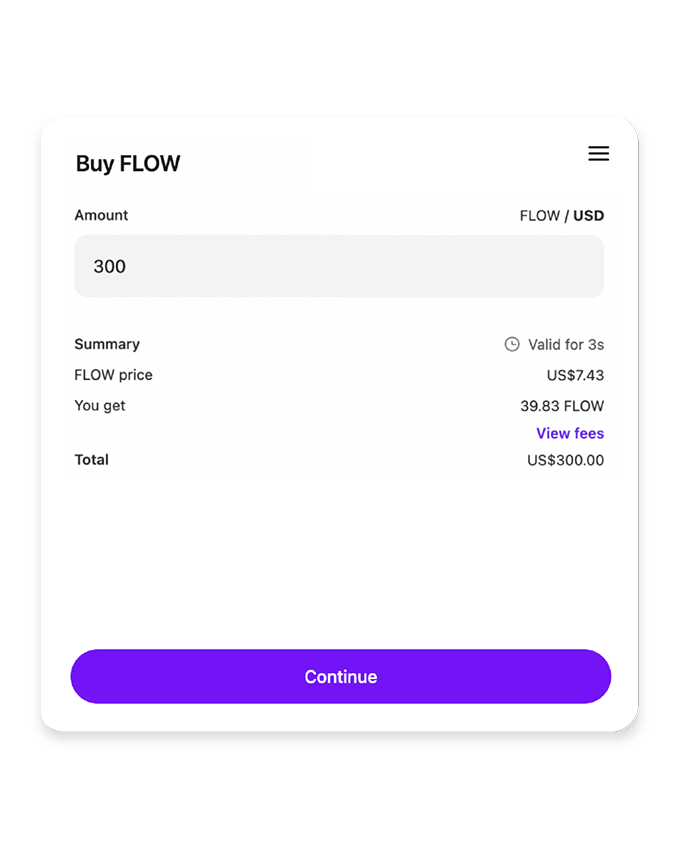
Enter the amount of FLOW you’d like to purchase
You will automatically see the $USD equivalent so you know how much money you’re spending.
Then click Continue
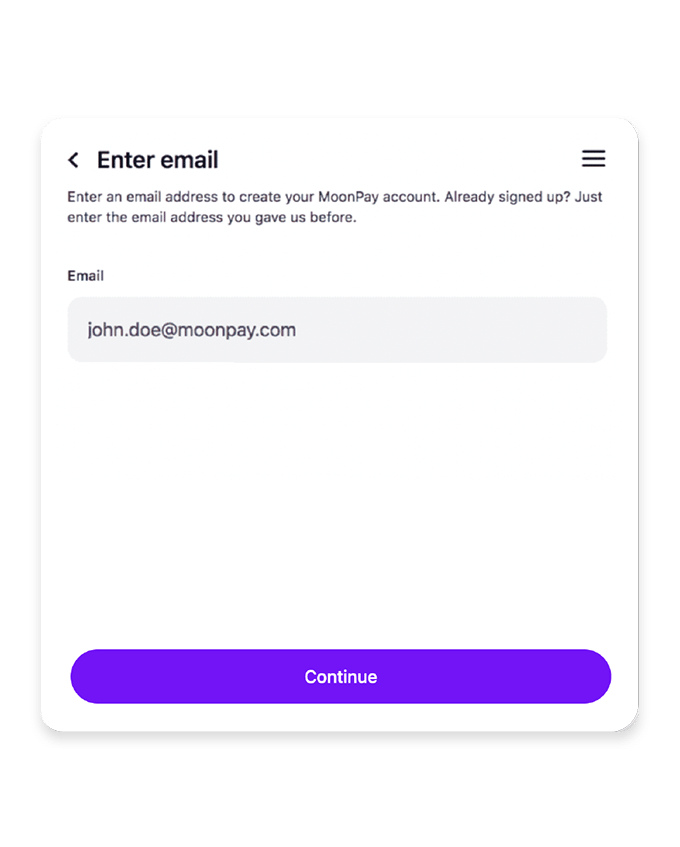
Register for an account
Enter your email address to setup a new account with Moonpay.
Then click Continue
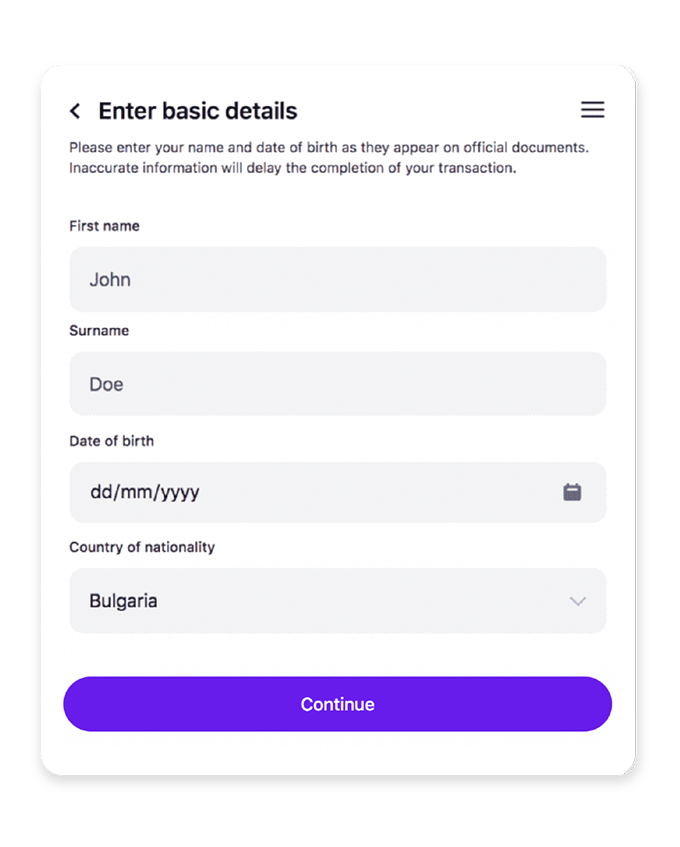
Enter your details
Enter your Name, DOB and Country of residence.
Then click Continue
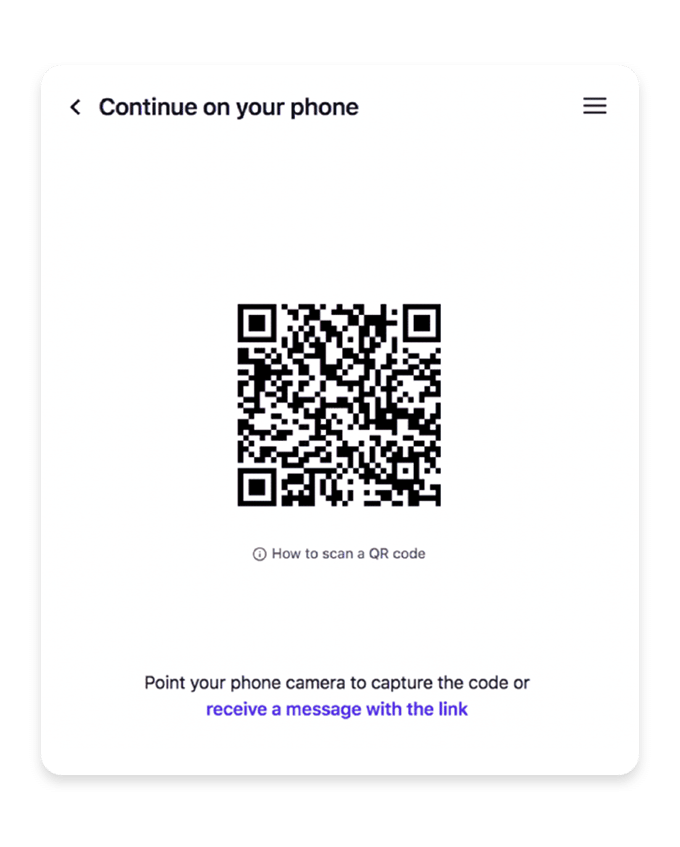
Continue with verification on your smartphone
If you’re not already using your phone you’ll be prompted to finish verifying yourself on there so just scan the QR code with your phone’s camera then open the link.
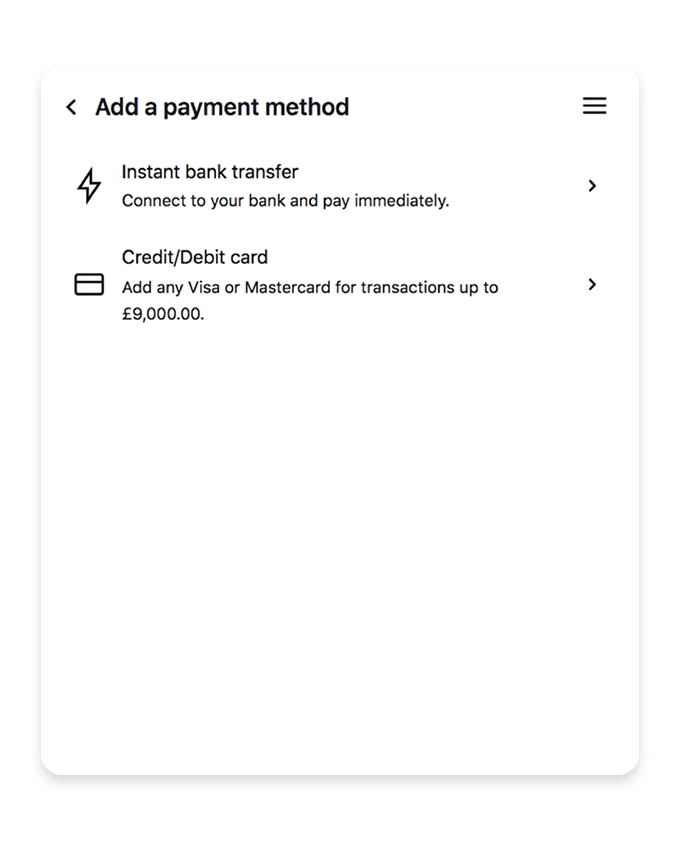
Add a payment method
Next you’ll be asked how you’d like to pay for your FLOW, either by bank transfer or Credit/Debit Card.
Select an option then enter all the details.
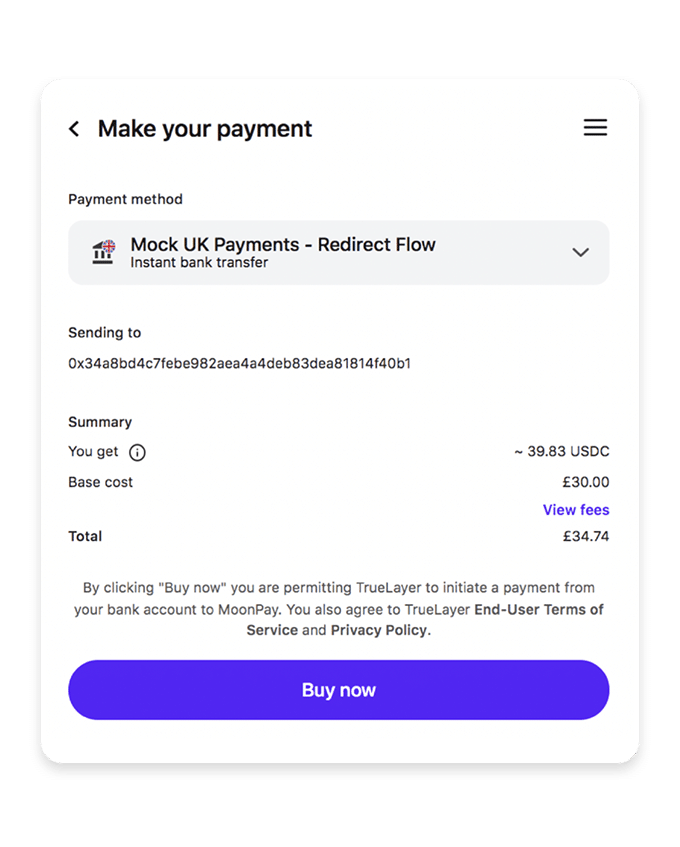
Confirm the payment
Make sure to check all the details are correct before clicking the Buy now button.
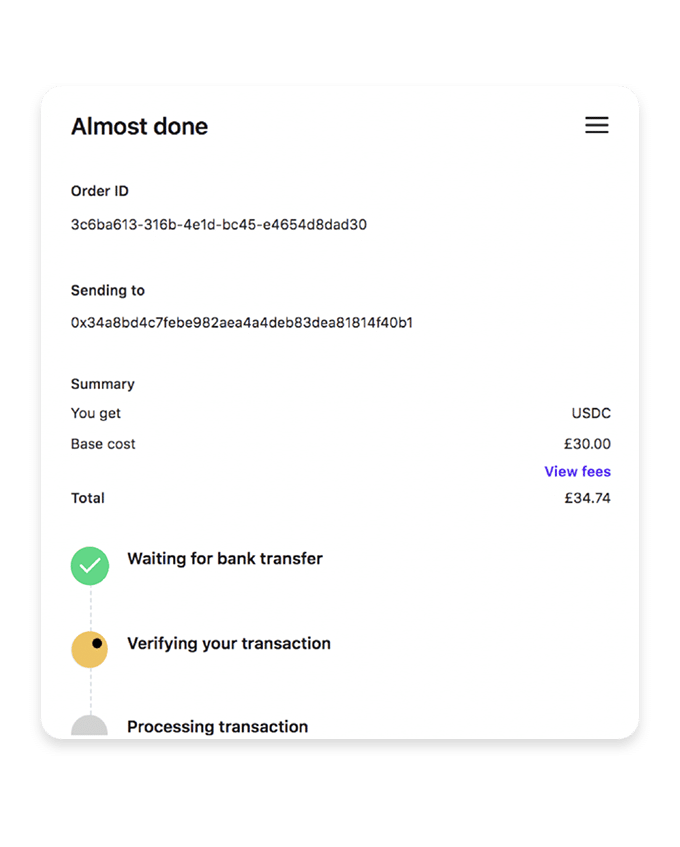
Processing the transfer
It will take a few seconds to process the bank transfer, once it’s complete you will see a Crypto Delivered confimation.
You’ll receive an email from MoonPay informing you your FLOW is on its way.
The actual transfer of the monies may take up to 30 mins but when it’s completed you will recieve another email. Then if you refresh the Flovatar website you will see the funds in your account.
Card not accepted?
If you’re having issues getting your card accepted with MoonPay then we recommend using either of these alternative methods:
Congratulations, you did it!
Now that the hard part is done, let's have some fun and create your very own Flovatar in the Builder!
HOW TO BUILD
A FLOVATAR
Unlike most NFT projects, Flovatar lets you get creative by building your own avatar however you want rather than just choosing one that’s been pre-made.

Everything begins with a Spark
Spark is the secret ingredient that will allow you to build a Flovatar.
Each time you create a Flovatar the Spark will be burnt so to build another Flovatar you will need a new Spark.

Shaping your Flovatar
First select a category (e.g. body, clothing, eyes etc) and then choose the trait that you’d like to use.
In addition to the traits you can also add Flobits which are optional accessories that you can add and remove from your Flovatar at any time.

Using boosters to increase rarity
When building your Flovatar you’ll notice different traits are color coded - each color represents a different rarity level:
- White
- Common
- Blue
- Rare
- Yellow
- Epic
- Purple
- Legendary
To be able to use a trait that is Rare, Epic or Legendary you will need to purchase the relevant Booster before being able to create your Flovatar. One Booster is needed per trait used.
The higher your rarity score the more valuable your Flovatar will be.

Customizing your look with accessories
Flobits are what we call the accessories that you can add to your Flovatar for extra character.
One of the things that makes Flovatar unique from other NFT projects is that Flobits can be added and removed from your Flovatar even after you’ve minted it.
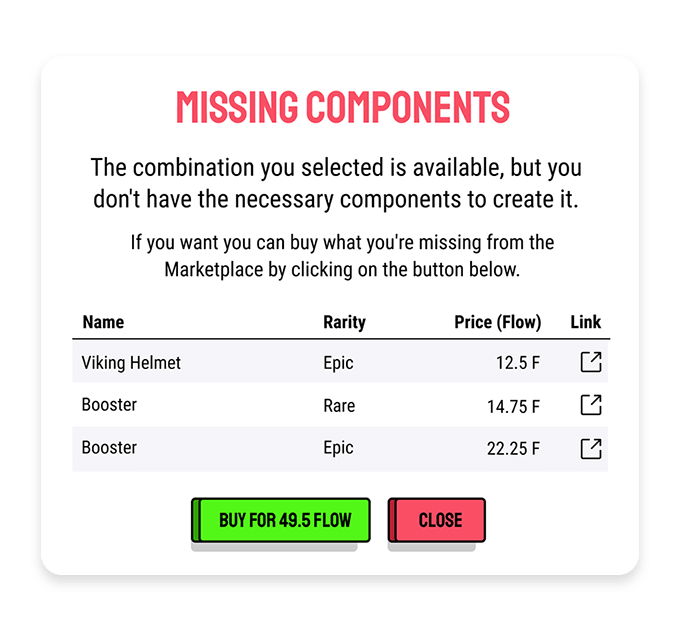
Purchasing any missing components
If your creation includes any components that you don’t have you’ll be shown a shopping list of the missing items that you can buy with just one click.
Once you have all the necessary items just click the Create Flovatar button to mint your NFT.
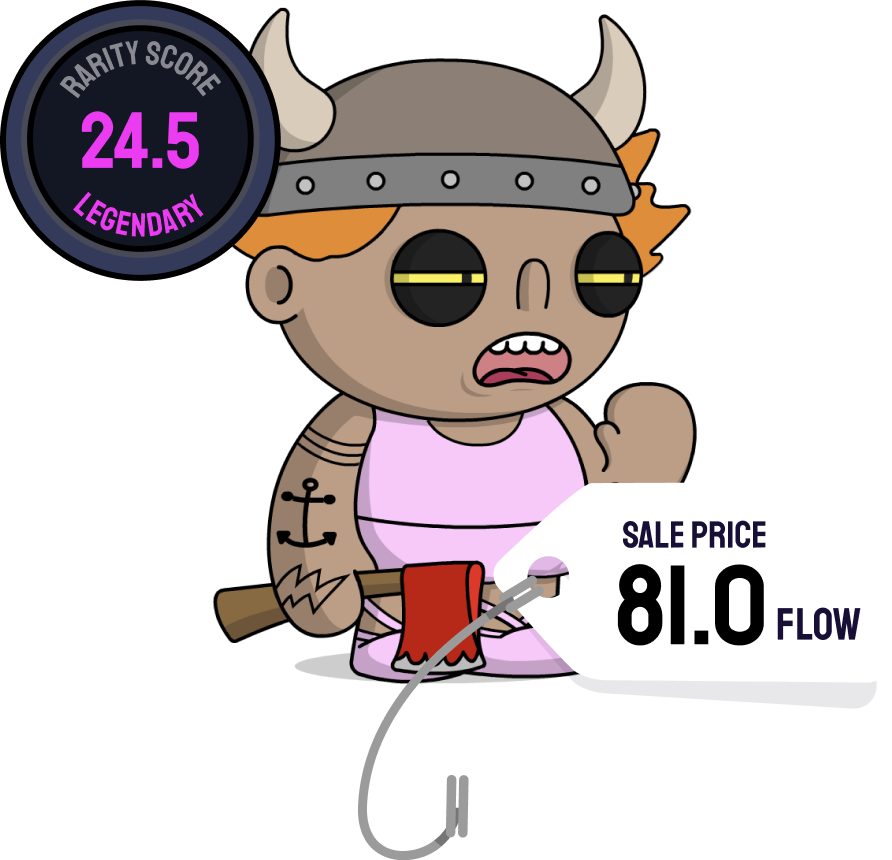
Things you can do even after minting
Once created you can view your Flovatar by selecting My Collection from the dropdown menu then clicking your Flovatar.
From here you’ll be able to do a number of things including:
- Download an image of your Flovatar
- Customize the accessories (Flobits)
- Put your Flovatar up for sale in the Marketplace
- Gift your Flovatar to someone else
... and so much more once our ÐUST token will be released!
